Convert picture to cross stitch pattern: a six-step guide
How to convert a picture to a cross stitch pattern, one figure per step, using the same engine as the free studio. The figures below come from the Corgi sample.
From photo to chart
The six steps
Each step takes about a minute once you know what to look for.
1. Choose the picture
Pick a sharp photo with one clear subject and a plain background. Fill most of the frame with the face or object, since a chart has far fewer cells than a photo has pixels. Crop before you do anything else.
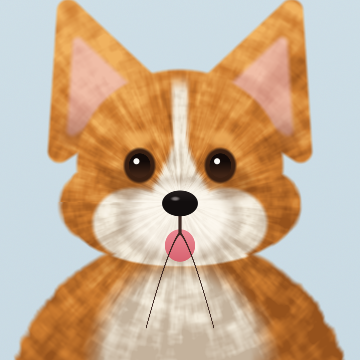
2. Set fabric and size
Pick the fabric first, because count sets the finished size. The same 120-stitch width runs from 10.91 in on 11 ct down to 5.45 in on 22 ct. Pick a width that keeps the face above 60 stitches across.
3. Clear the background
Turn on Remove background. The flood starts at the edges and only spreads through colors close to the corners. On this sample, 5,392 cells return to bare fabric, which saves thread and hours of stitching.
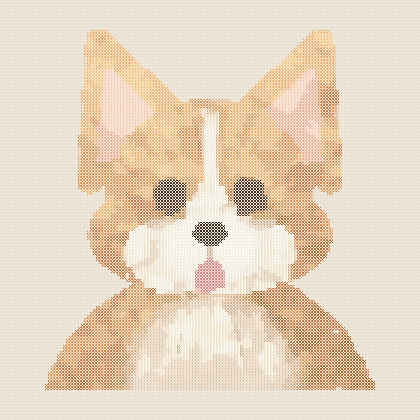
4. Pick DMC colors
Every cell snaps to its nearest DMC number, then rare colors fold into close neighbors until the cap holds. Try 28 first, then compare with 12. If the lower number still looks right, you just saved a lot of thread.
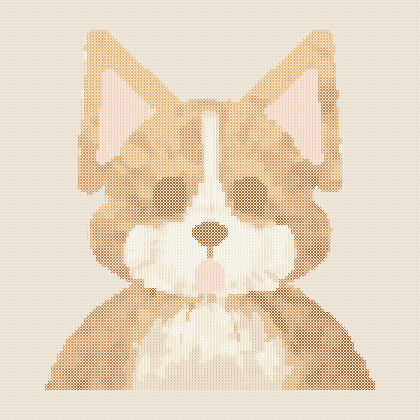
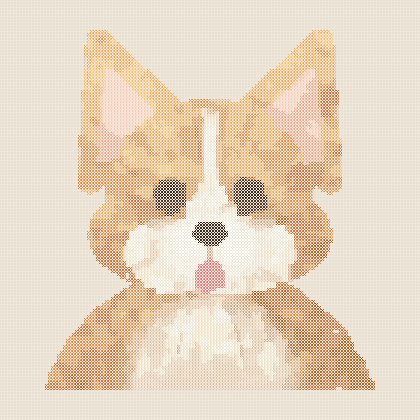
5. Clean up confetti stitches
Set confetti cleanup to 3 and look at the result. Raise it if the chart still speckles. Each merge removes a thread start, and you can watch the islands count fall in the readout under the canvas.
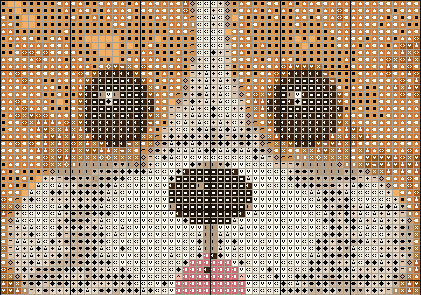
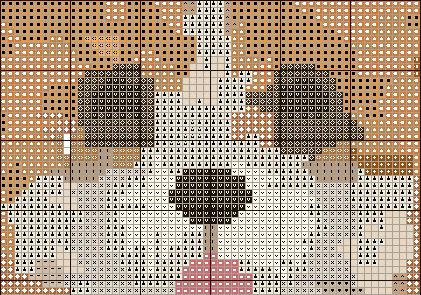
6. Check the chart and export
Switch to B&W symbols and zoom in. Fix eyes and edges with the pencil. Then take the free preview, or unlock the printable book with its assembly map, overlap guides and DMC legend.
Real engine output
Confetti cleanup, measured
The four samples at their default settings. Nothing here is estimated: a script ran the engine at every setting.
Pet Portrait — Corgi Puppy
| Cleanup threshold | Colors used | Islands under 10 stitches | Stitches merged |
|---|---|---|---|
| Off | 28 | 2,283 | 0 |
| Under 2 | 27 | 484 | 1,577 |
| Under 3 | 27 | 209 | 2,212 |
| Under 6 | 25 | 25 | 3,127 |
| Under 10 | 25 | 0 | 3,739 |
Botanical Floral Wreath
| Cleanup threshold | Colors used | Islands under 10 stitches | Stitches merged |
|---|---|---|---|
| Off | 14 | 61 | 0 |
| Under 2 | 14 | 31 | 30 |
| Under 3 | 14 | 24 | 40 |
| Under 6 | 14 | 12 | 94 |
| Under 10 | 14 | 0 | 183 |
Retro Pixel Gaming Crest
| Cleanup threshold | Colors used | Islands under 10 stitches | Stitches merged |
|---|---|---|---|
| Off | 12 | 83 | 0 |
| Under 2 | 12 | 30 | 43 |
| Under 3 | 12 | 27 | 59 |
| Under 6 | 12 | 14 | 106 |
| Under 10 | 11 | 0 | 235 |
Custom Wedding / Family Sampler Quote
| Cleanup threshold | Colors used | Islands under 10 stitches | Stitches merged |
|---|---|---|---|
| Off | 10 | 95 | 0 |
| Under 2 | 10 | 95 | 0 |
| Under 3 | 10 | 89 | 4 |
| Under 6 | 10 | 76 | 49 |
| Under 10 | 7 | 0 | 590 |
Photos gain the most, because a threshold near 3 clears most thread starts and keeps the detail. Flat artwork needs more care. At 10, the wedding sampler falls from 10 colors to 7 because its small flowers count as islands, so keep flat art near its default.
Starting points
Settings by subject
| Subject | Width | Colors | Dither | Confetti |
|---|---|---|---|---|
| Pet | 120 | 24–32 | 20–30 % | Under 3 |
| Portrait | 140 | 28–40 | 20–40 % | Under 3 |
| Landscape | 180 | 24–36 | 30–50 % | Under 5 |
| Logo or line art | 100 | 8–12 | 0 % | Under 5 |
For a photo with no plain background, keep the background on and treat it as part of the picture. You can also use the photo to cross stitch pattern generator, which opens with the prep tools ready.
Avoid these
Common mistakes
| Starting too small | Under 80 stitches, faces lose their features. Raise the width before raising colors. |
| Using every color | More colors mean more thread changes. Past 40, few people can see a difference at viewing distance. |
| Dithering at 100 % | It looks smooth on screen and stitches as noise. Stay under 50 % for most photos. |
| Skipping the B&W view | If two regions merge in B&W symbols, they may also be hard to tell apart in thread. |
| Trusting screen colors | Hex values are approximate. Compare key colors with a real shade card. |
FAQ
Common questions
How long does it take to convert a picture to a cross stitch pattern?
A 120 × 120 chart with 28 colors renders in under half a second on a typical computer, and a 300 × 300 chart in under two seconds. Plan on ten to twenty minutes in total if you crop, compare color counts and fix details by hand.
What is the best size for a first photo pattern?
Try 80 to 100 stitches wide on 14 ct with 16 to 20 colors. That finishes at 5.71 to 7.14 in, which is large enough for a clear subject and small enough to finish. Keep confetti cleanup at 3 or more.
Why does my pattern have so many single stitches?
Photos have fine noise, and dithering adds more on purpose. Lower dithering first, then raise confetti cleanup. The table on this page shows how many small islands each setting leaves on the four samples, so you can see the trade before you stitch.
Does confetti cleanup change the colors used?
It can reduce them slightly, because a color that only appeared in tiny islands can vanish after merging. It never adds a color. Stitch totals stay about the same, apart from strays on bare fabric, which return to unstitched.
Do I need to remove the background?
Only if the background is plain and you want bare fabric there. A removed background saves thread and time: on the Corgi sample it leaves 5,392 cells unstitched. Keep a busy background only if it matters to the picture.
Can I convert a picture without signing up?
Yes. There is no account, and the picture stays in your browser. You only pay if you want the printable chart, the tablet files or the seller pack. The watermarked preview and size summary are free.
The family